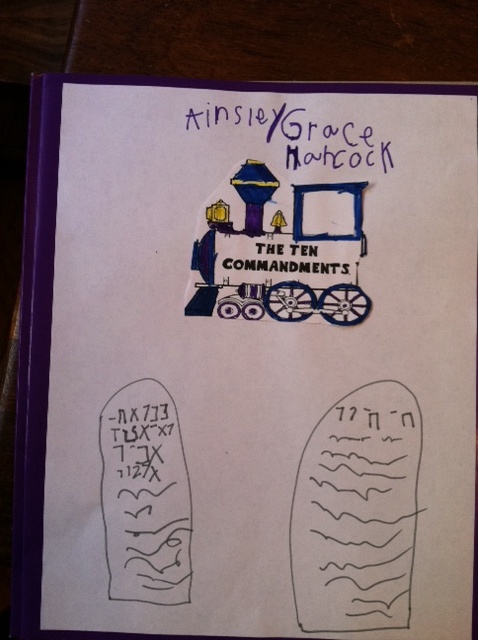
We are concentrating on learning The 10 Commandments over the next few weeks, and I wanted a visual and a craft to really help my daughter understand each commandment and what it means. But the most important thing was for her to understand what they were and why God gave them to us.
Here is the process I took in doing this project with her:
We sat down together and talked about Moses. He was the man that God used to bring the Israelites out Egypt. We talked about why it had to happen, and the journey that Moses led them through with God’s help. We covered all the bases:
- The plagues that Egypt experienced before the Israelites left
- The parting of the Red Sea
- The food God provided in the desert
- God’s cloud and fire guiding them
- What they did at the foot of the mountain while Moses was up on the mountain with God
- What happened when Moses came down with the two stone tablets
*Please note: We did this in a few devotional times spread over several days. I used picture Bible story books and opened the Bible to show her that these were stories from the Bible, but her story book was what we used so we could see a picture for it.
We also talked about how God’s most important commandment, which was represented in Jesus’ life, was to love.
“Teacher, which is the most important commandment in the law of Moses?”
Jesus replied, “‘You must love the Lord your God with all your heart, all your soul, and all your mind.’This is the first and greatest commandment. A second is equally important: ‘Love your neighbor as yourself.’ The entire law and all the demands of the prophets are based on these two commandments.” (Matthew 22:36-40)
Together we talked about the commandments are basically broken down into two groups:
- How to love God and
- How to Love Others.
Here’s the craft that we used. The 10 Commandments are organized like a train. I love this! Just follow these instructions for putting it together.
1. Print off the download HERE.
2. Get a 3-hole-punched folder. Use the “Ten Commandments” train pic, cut it out, and glue to separate sheet of paper. Let your child decorate it and then tape/glue as the cover.
3. Cut out and color each commandment and put it on a piece of paper. Have them write out the number for each page, and color a picture or cut out things from magazines to decorate what that commandment means to them. We discussed each commandment for at least a day and memorized it. (Don’t be in a rush, and understand that your child learns by repetition.)
4. Glue the paper to a piece of colored construction paper, punch holes, and put into folder.
5. Do this for each of the commandments.
This is a great folder to keep and use throughout the year to help your children remember the commandments, why God gives them to us, and it helps them to learn how to keep them. It makes for a great reference you can keep pull out again and again.


Thank you, Kelly! This is a great activity. I have been teaching the commandments to my 5-year-old son. This will definitely help with application. God bless you.
I have a great cartoon style DVD about The 10 Commandments and in the special features section they interview people and ask how many of the 10 they can remember and it is shocking that even in churches many can’t name them. They suggest a way to remember them by the letters of “I AM THE LORD” Idolatry,Adultery,Murder,Taking(steal),Honour parents,Envy not,Lie not,One God,Rest,Disrespect( the name of the Lord). There are 10 letters! Also good is the Way of the Master DVDs where they show people their need to be saved by asking them if they have ever lied (liars) stole(theives)used Gods’ name in vain etc and then show them that on judgement day would they be guilty or innocent and then they ask if they know what God did to take away their punishment.