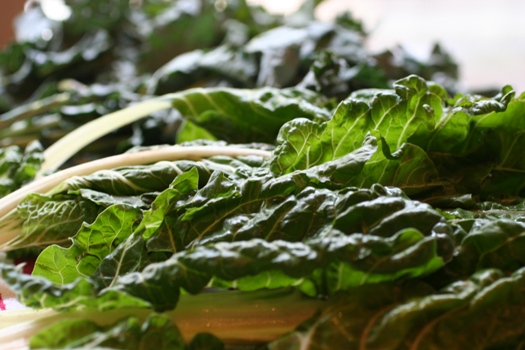
 Since our CSA (C0mmunity Supported Agriculture) shares have been so full of greens lately, I thought it was about time I started finding a way to make them last through the winter. I can’t possibly eat all that we are getting, and I hate to waste them by letting them go bad. So, I tried my hand at blanching vegetables this week and to my surprise, it was quite easy.
I had people tell me repeatedly to blanch my vegetables to preserve the nutrients, but I had never actually tried it. I also learned that doing so will extend the cost of my CSA share over a twelve-month period versus just a six-month period. This puts them at my fingertips all winter long!
Here is my step-by-step tutorial on How to Blanch Vegetables, in this case I used greens (kale and swiss chard) as my examples.
*Scroll down to use print recipe feature and add to your Recipe Box.
What is Blanching?
All fruits and vegetables contain enzymes and bacteria that, over time, break down and destroy nutrients, changing the color, flavor, and texture of food during frozen storage. Greens require a brief heat treatment, called blanching, in order to freeze well. Blanching uses boiling water or steam to destroy the enzymes before freezing. It’s very simple and takes minutes. Blanching time for collards is 3 minutes; all other greens take 2 minutes. You can use this method of blanching on any produce before freezing.
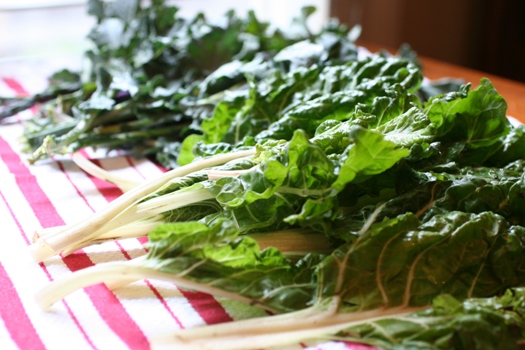 You will needed to prepare the greens by washing and removing the stems. While doing this, get a large pot of boiling water ready (about 2/3 full) and a large bowl of ice and cold water called an ice bath.
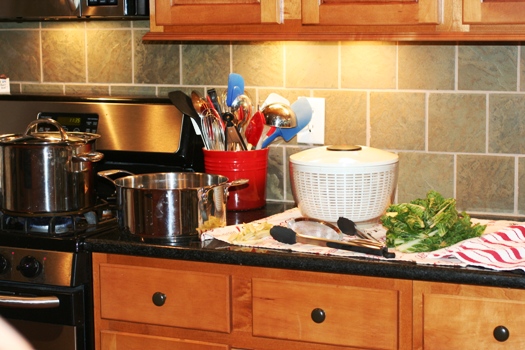 Set up a Station
Here is my blanching station, with a large stockpot for the stove, one for the ice bath, a salad spinner to strain the water, a cutting board to cut them before I freeze them, and lastly, the freezer bags for storing.
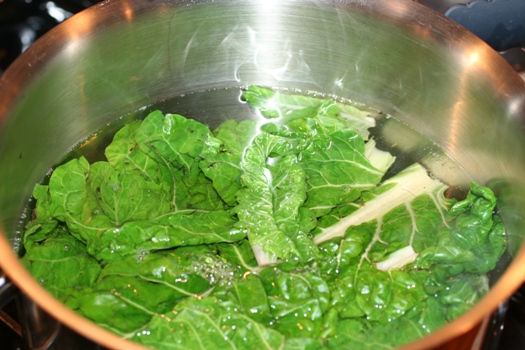 Step 1: Cook in Hot Water
When your water begins boiling, put the greens in and begin counting the blanching time as soon as you place the greens in the boiling water. I set a timer to make it easy. Cover the pot and boil on high for 2-3 minutes. If you use the same blanching water several times, be sure to add more hot water from the tap from time to time, to keep the water level above your greens.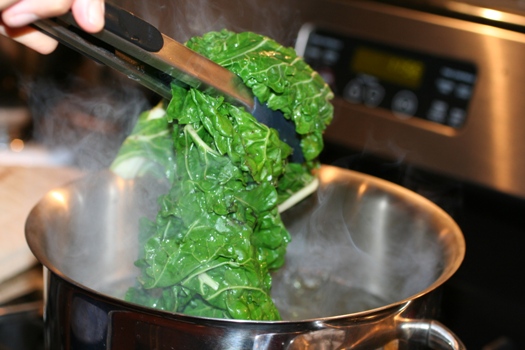
Remove greens from the hot stockpot to an ice bath.
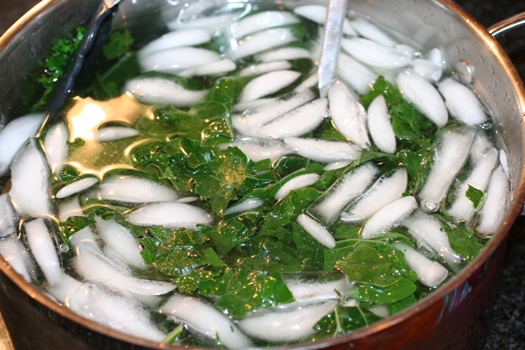 Step 2: Place into Ice Bath
After vegetables are blanched, cool them quickly to prevent overcooking. Plunge the greens into a large ice bath (a bowl or pot filled with cold water and ice). If you are doing several batches at the same time, keep adding ice to the water so the greens will cool quickly. Cool for the same amount of time as the blanch step. For example, if you blanch greens for 3 minutes, then cool in ice water for at least 3 minutes.
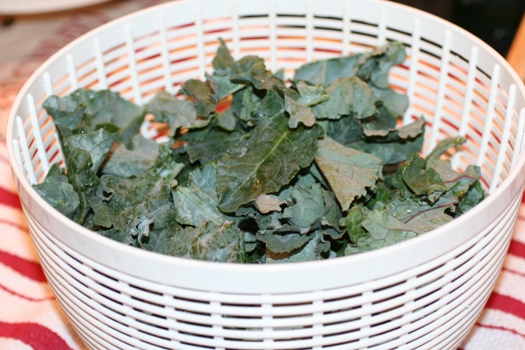 Step 3: Strain Thoroughly
Drain thoroughly and place in freezer bags. I prefer draining using my salad spinner to get the most water off. Once they are strained, then you can put them into a freezer bag.
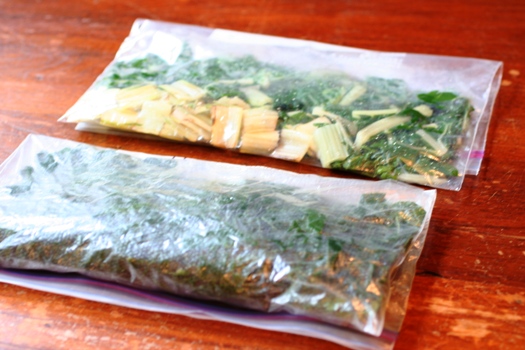 Step 4: Store in Freezer
If you have a food saver then this will really be great to use since it vacuum seals and preserves food longer. If not, you can use freezer bags and zip as far over as possible, then insert a straw and draw the air out of the bag. To remove the straw, press the straw closed where inserted and finish pressing the bag closed as you remove straw.
- 1 large stockpot for cooking on stove
- 1 large stockpot or bowl for ice-bath
- 1 colander or salad spinner
- freezer bags
- greens or other vegetables, to prepare
- Rinse the leaves in plain cold water and drain in a colander. Cut off larger stems.
- While doing this, prepare a large pot of boiling water (about ⅔ full) and a large bowl of ice and cold water.
- When your water begins boiling, put the greens in and begin counting the blanching time as soon as you place the greens in the boiling water. Cover the pot and boil at a high temperature for the 2-3 minutes.
- *Note: You may use the same blanching water several times but be sure to add more hot water from the tap from time to time to keep the water level above your greens.
- After vegetables are blanched, cool them quickly to prevent overcooking by plunging them into a large ice bath (cold water filled with ice). If you are doing several batches at the same time, keep adding ice to the water so the greens will cool quickly.
- Cool for 2-3 minutes.
- Drain thoroughly in a colander or salad spinner and place in freezer bags.
- If you have a food saver then this will really be great to use since it vacuum seals and preserves food longer. If not, you can use freezer bags and zip as far over as possible and insert a straw and draw the air out of the bag. To remove the straw, press the straw closed where inserted and finish pressing the bag closed as you remove straw.


Thanks for this article. I have little knowledge on how to effectively freeze fresh produce. I have a lot of squash this summer and want to freeze them. I will put this method to the test.
Thanks!
Thanks for the tips! I wanted to figure out what to do with all of the remaining brocolette without it going bad. Thanks!